Creating Orders Screen
Now we are coming to a final assemble previously created objects into a Screen that application users will face.
Select Screens section and press Plus Button->New
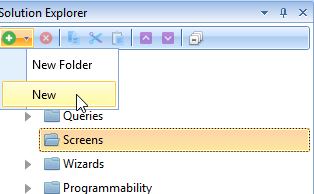
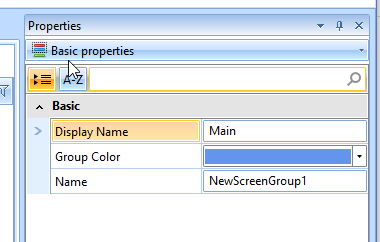
A Screen group would be created. Set it's name to "Main".
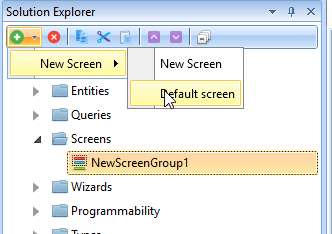
Press Plus Button->New Screen->Default Screen.
New Screen option will create an empty Screen.
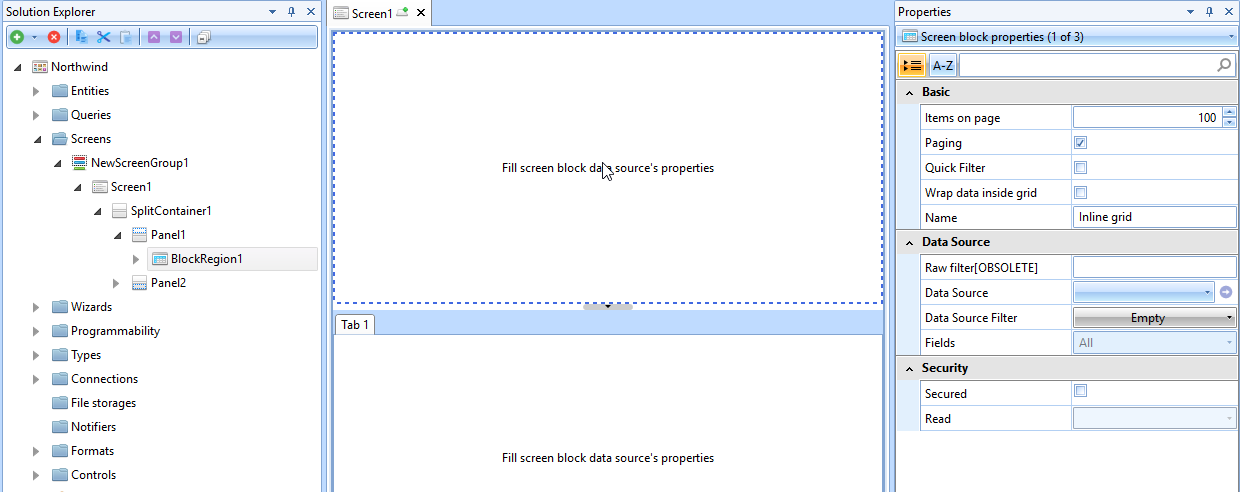
Default Screen option will created a Screen with predefined structure with main grid on top and tab control at bottom.
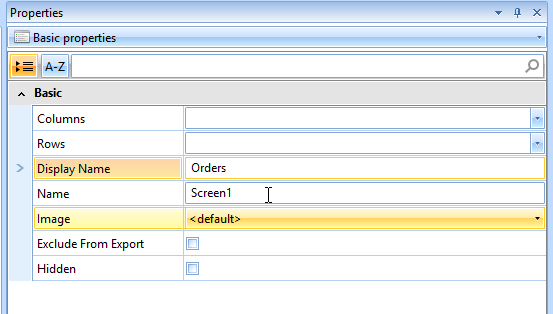
Select newly created Screen and set its Display Name to "Orders".
Click on top part of the Screen to see top grid properties.
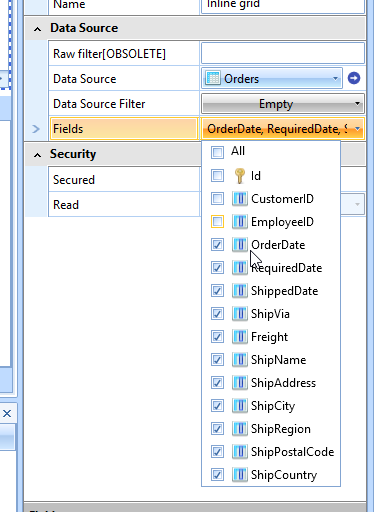
Select Data Source as Orders and all fields except Id, CustomerID and EmployeeID.
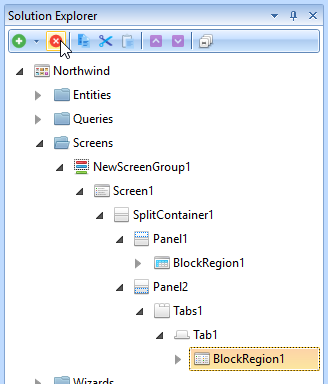
Find BlockRegion1 and Panel2 and delete it by pressing Delete button.
This block is Details type we will replace it with Grid type block.
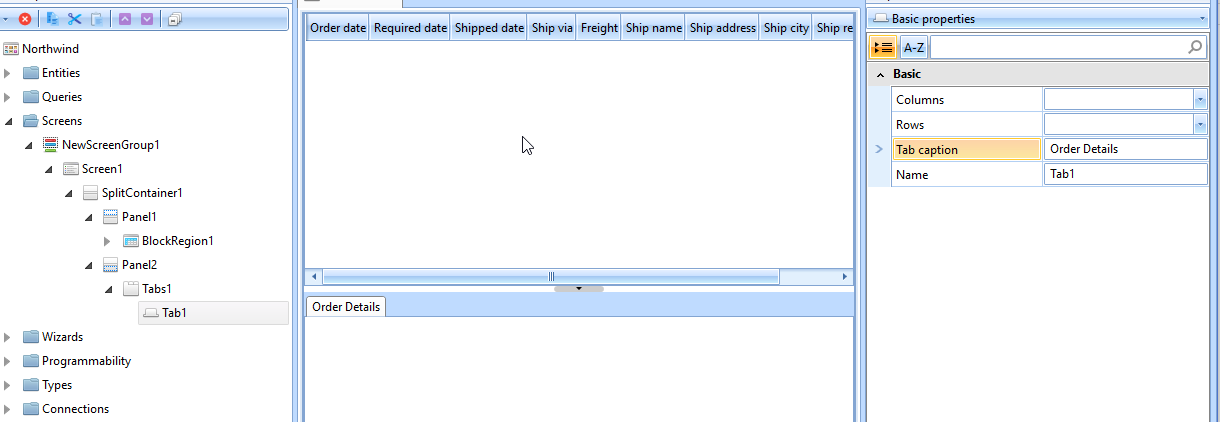
Select Tab 1 section and set Tab caption to "Order Details".
Without leaving this section press Plus Button->New Block region->New grid block.
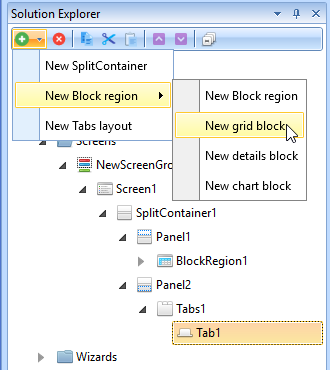
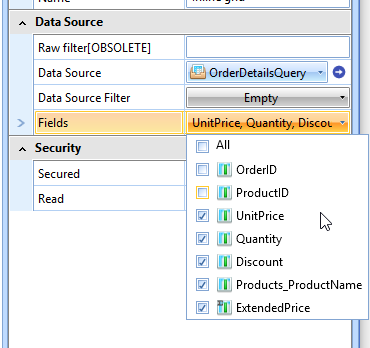
Set Data Source for newly created grid block as OrderDetailsQuery and select all fields except OrderID and ProductID.
This this point if we'll run an application Order Details tab will always show all data from OrderDetailsQuery.
We need to limit this data to selected order in top grid. This when Block Relations come into play.
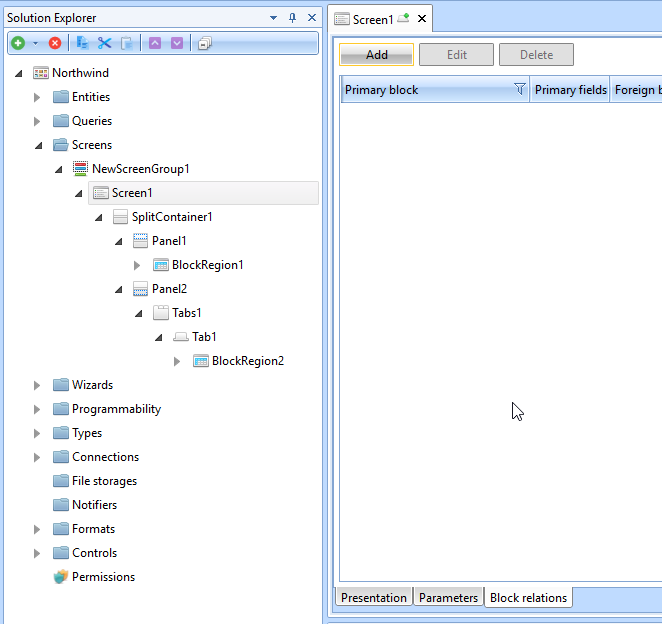
Select Screen1 in explorer and press Block Relations tab.
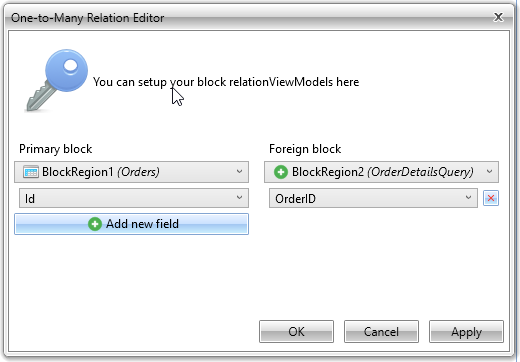
Press Add. At pop-up form select BlockRegion1 (Orders) as Primary block and BlockRegion2 (OrderDetailsQuery) as Foreign Block.

Then press Add new field and select OrderID for the Foreign block. Press OK.
Now you have a working Screen with orders and its details data representation.
Next step is to setup actions to call previously created Wizard.
Created with the Personal Edition of HelpNDoc: Free help authoring tool